I originally got the idea from Addicted 2 Decorating, and I thought it would great to make for my best friend for Christmas, so I decided to just photograph the steps in creating my own and taking note of what I did to make it and even things I would do differently if I were to make another one of these someday (which I plan to do!)
This mirror is really simple to make, and by the time I was done I only had about $20-$25 invested into it, which isn't too bad! It's also something that looks good in pretty much every room in the house, and in my opinion it's very eye-catching!
- - -
Materials:
- 2 Wreath Forms, one 18 in. and one 16 in. You can easily find these at any craft store, I bought mine at Michael's.
- Spoons. For my mirror, I had to buy 7 bags of 48 spoons. Just a tip, make sure you buy the cheapest, flimsiest spoons as you possibly can. I recommend just going into your nearest dollar store where you can buy packs of 48 for only $1. Cutting the spoons hurt my hands a bit, so I wouldn't suggest buying those tough, clear plastic spoons, as they would probably be near impossible to cut nicely with a pair of scissors.
- Hot glue / Glue gun
- Scissors
- Thick paper
- Mirror (I used a 12'' mirror, but only because I couldn't find a 10'')
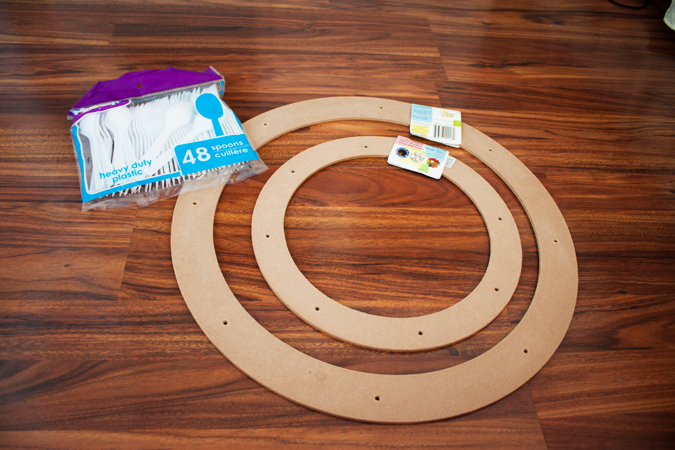
(My wreath forms, and one of my bags of spoons. They definitely were not heavy duty, either.)
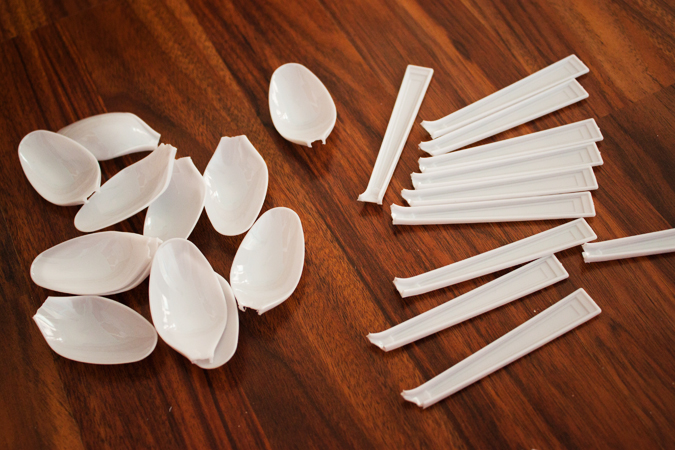
To start off, I went ahead and cut up my first bag of spoons very quickly. They don't need to be very neat, just try to get as much of the long part of the spoon off as possible. (One of my mistakes, will explain later.)
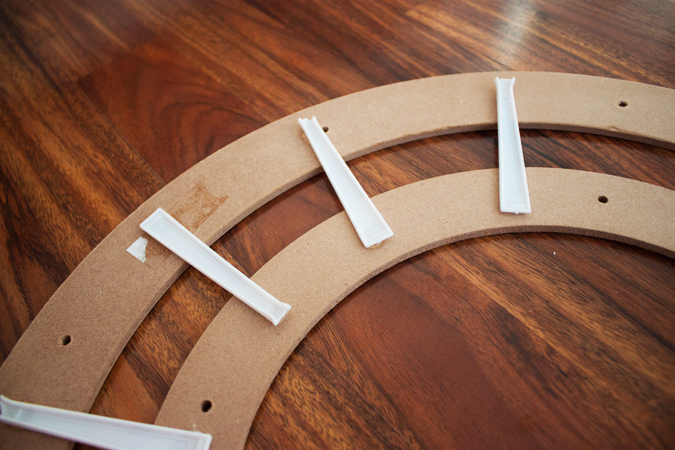
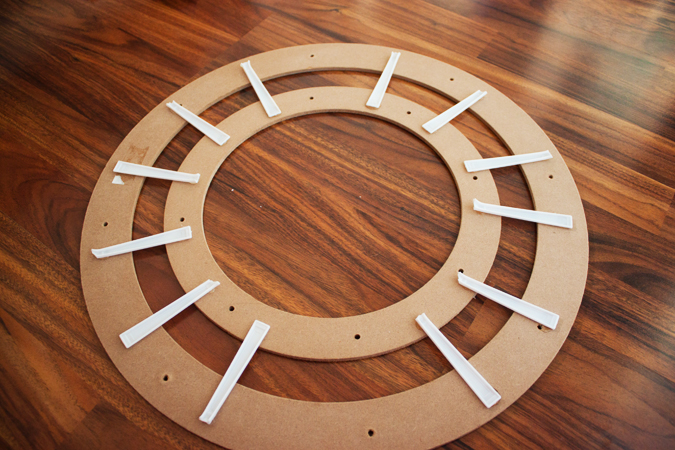
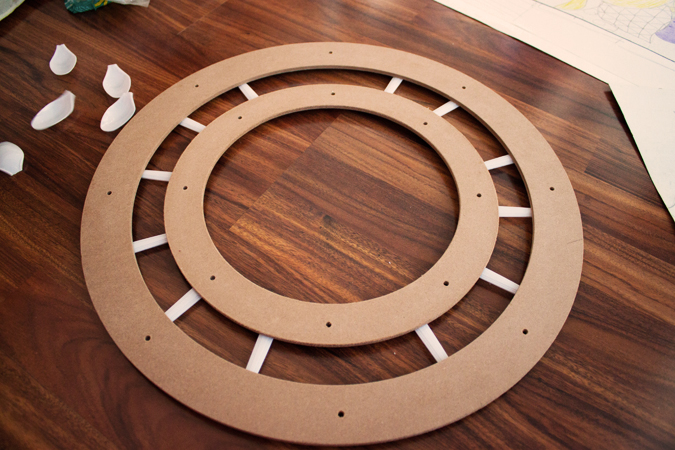
After this was done I took 12 of the long parts of the spoons and I hot glued each side to my wreath forms to connect them and keep them in place. I kept a bit of open space in the places that I decided would be the top and bottom of my mirror, so I would be able to have space to putting something there for hanging it when finished.
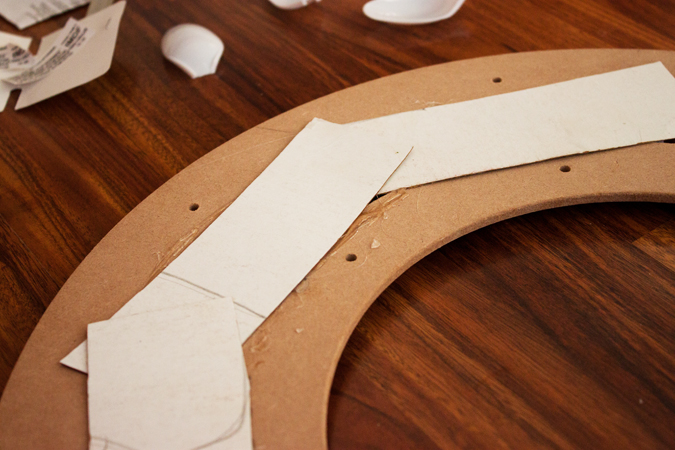
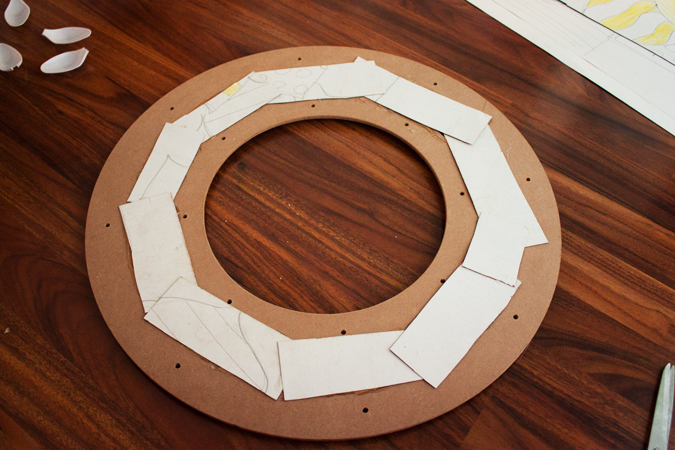
Once my glue dried, I flipped the the wreath forms over and began to hot glue some thick cardboard-like paper over the open space to cover it. Tip: make sure the paper you glue over the open space is thick, sturdy paper but still not very thick like cardboard. You want it to be as flat as possible so your spoons won't be uneven.
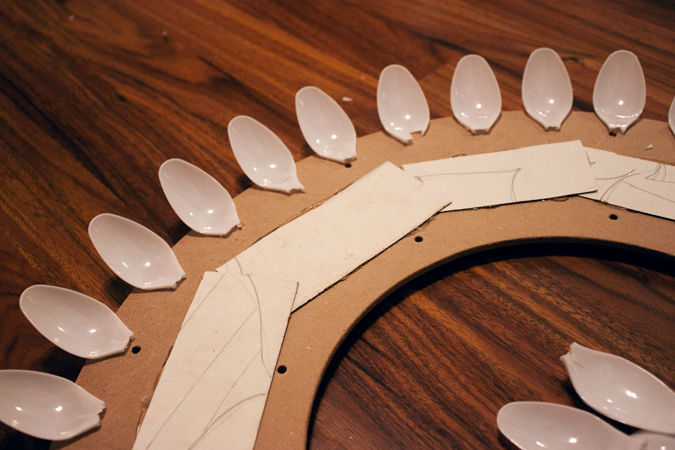
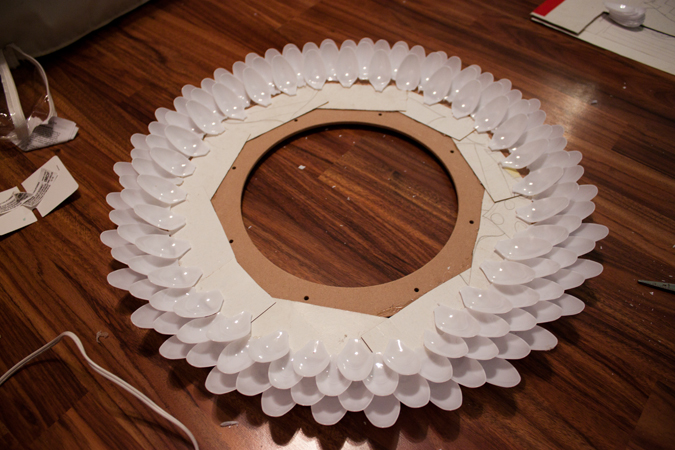
When I finished pasting on my paper, I began to glue my spoons onto the wreath forms. I started out a bit confused with how I should space them out evenly, so I glued a spoon right where each tiny hole was around my wreath form, and then I even placed three spoons inside of those two outer spoons (hope this is making sense, if not, surely the photo will help!)
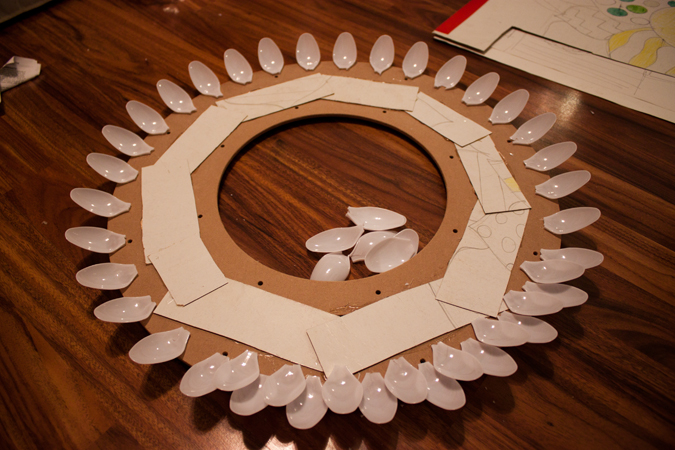
After I was done with my first ring of spoons, for the second ring I pretty much just fit those spoons in that empty space between the first ring of spoons. (That probably doesn't make much sense, either. Hopefully the photo will help.) After each ring of spoons I glued down, for the next ring, I would just glue the spoons in that space opposite of the previous spoons.
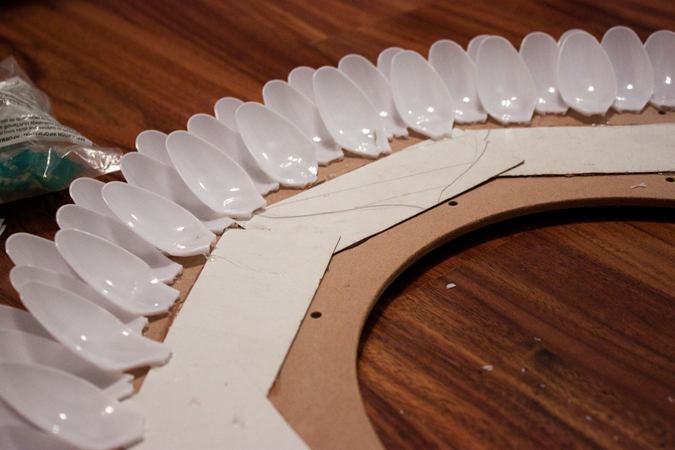
One of my mistakes was not cutting off the long part of the spoon completely. This led to being a mistake because after a while, I had no flat space to glue down my spoons, so I would have to glue them on top of the remaining spoon left sticking out. It caused my spoons to be a bit uneven, which didn't necessarily ruin or make my mirror look bad, but it definitely wasn't something that I wanted to happen.
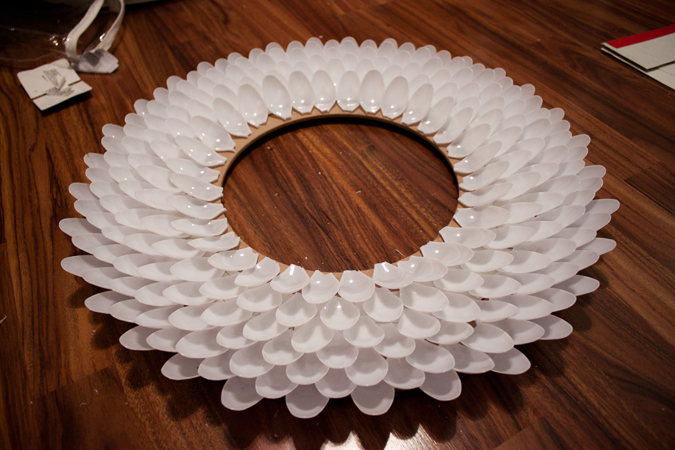
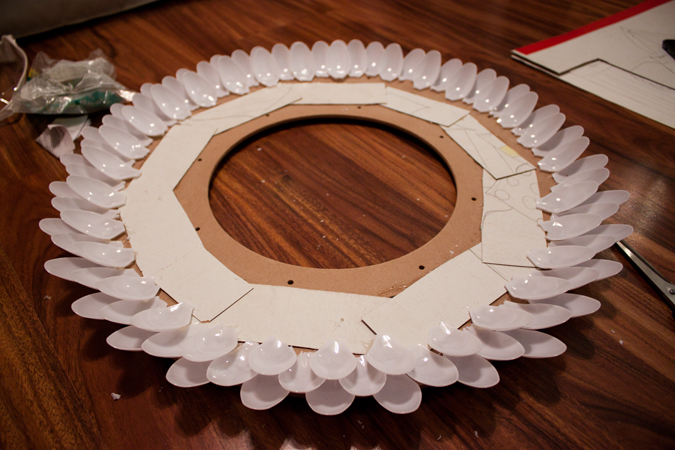
Okay, now to the tricky part. For the very last ring of spoons, you're going to want to have a bit of the spoon hanging over the edge of the wreath form. So, this also means you will need to cut the spoons in this last ring to where the bottoms of the spoons will be perfectly rounded. It's okay if there are splits in the ends of the spoons when you cut them, because once they are glued down and spray painted, they will barely be noticable, if noticable at all.
(Unfortunately, it seems as if I had forgotten to take a photo of my last ring of spoons before I spray painted them all. I apologize for that!)
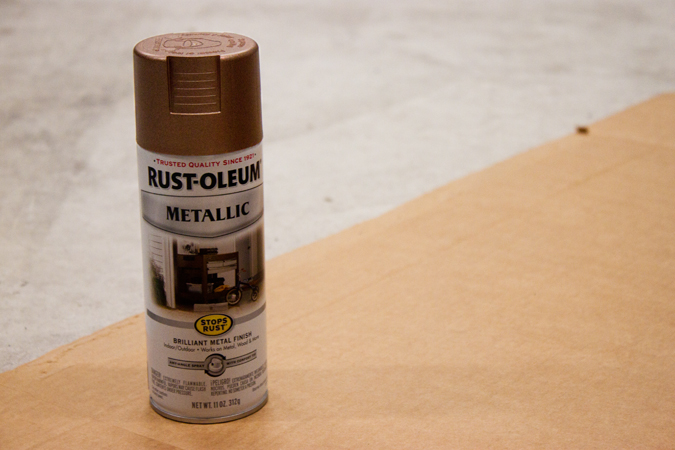
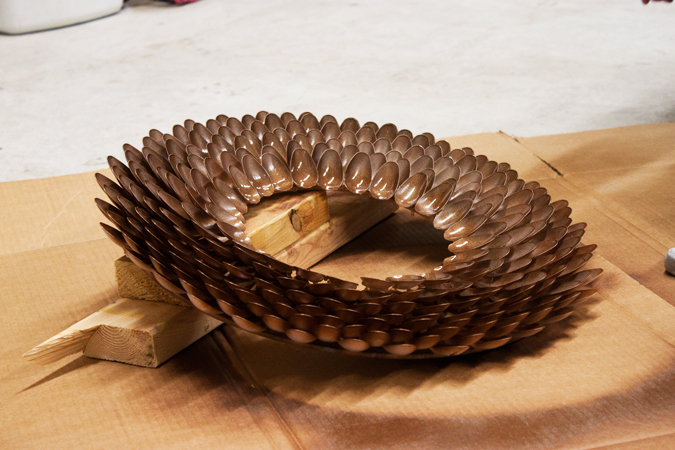
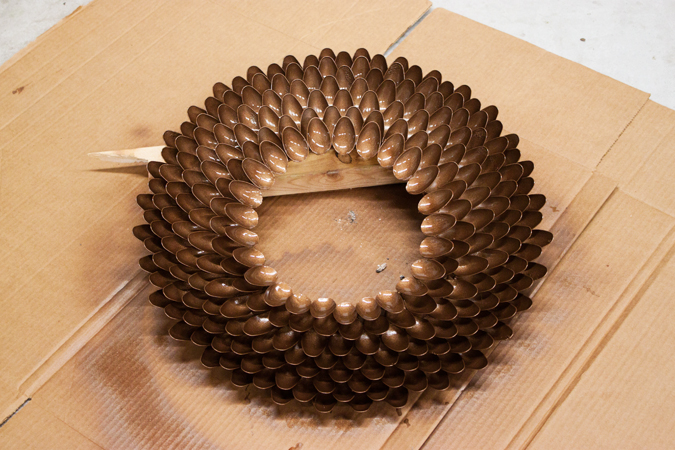
You will need to spray paint more than one coat on the spoons. Also, when spray painting the spoons, you will need to paint at more than one angle, to make sure you get every bit of the spoons and wreath forms painted. I propped mine up diagonally on a piece of wood so I could easily spray inside of each ring of spoons.
After this is all done, just let it sit and dry, and you are done with the hardest part of the project!
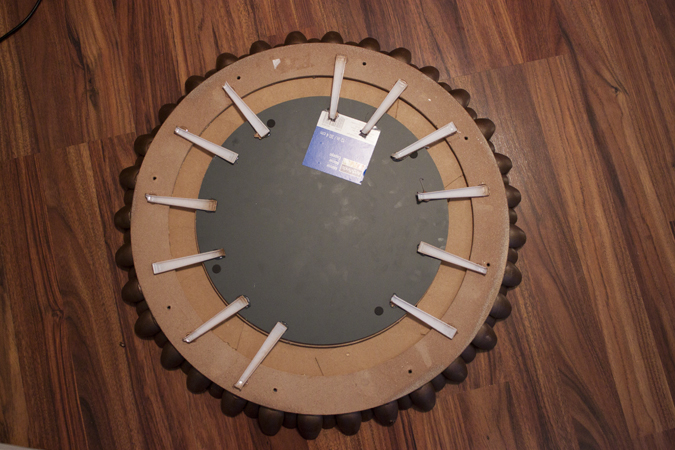
Since I bought my mirror a bit big, it fit exactly with my smaller 12'' wreath form. This made me have to remove all of my spoon sticks from the back which I glued down to keep my wreath forms in place. After those were all off, I completely glued my whole 12'' wreath form all around, and I glued it very quickly so it all wouldn't dry so fast. After I glued the wreath form, I placed my 12'' mirror directly on top of that, so they would perfectly fit together. When this dried, I just hot glued my spoons sticks right back where they were on top of the mirror! ** This step may not be necessary if you buy a 10'' mirror.
After this, you are completely done with your spoon mirror!
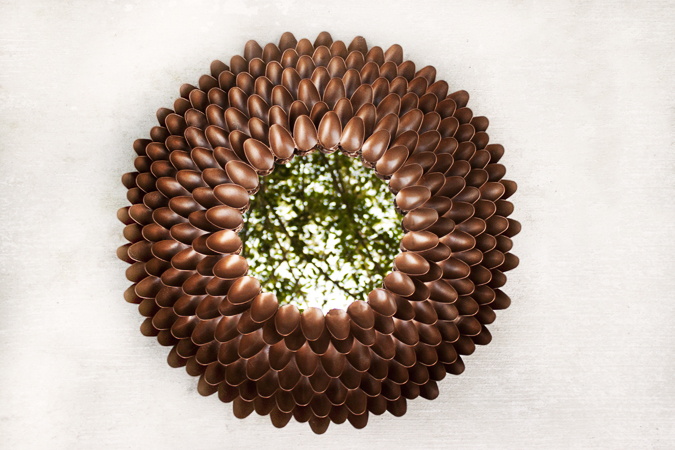
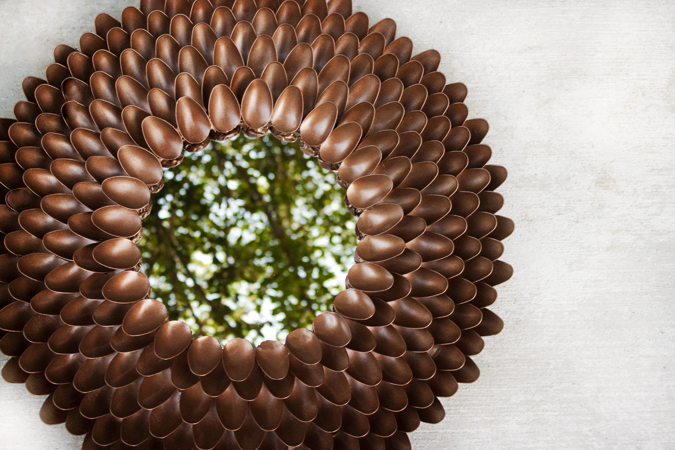
I was very pleased with the outcome of my mirror, and I will surely be making more in the future... just about everyone in my family wants one!
Hopefully this tutorial was easy to understand, and hopefully the photos helped also! Let me know what you think!
- - -
No comments:
Post a Comment
Comments, requests, questions?